Bosch BCH75STKGB Instruction Manual
Browse online or download Instruction Manual for Vacuum cleaners Bosch BCH75STKGB. tlethA ...H 6CB - BSH CDN Service [en] User Manual
- Page / 36
- Table of contents
- BOOKMARKS
Summary of Contents
Register your new Bosch now:www.bosch-home.com/welcomeMoodpic 163,2 x 50,25mmCMYK & GREYMoodpic 298,6 x 46,7mmCMYK & GREYRegister your new Bos
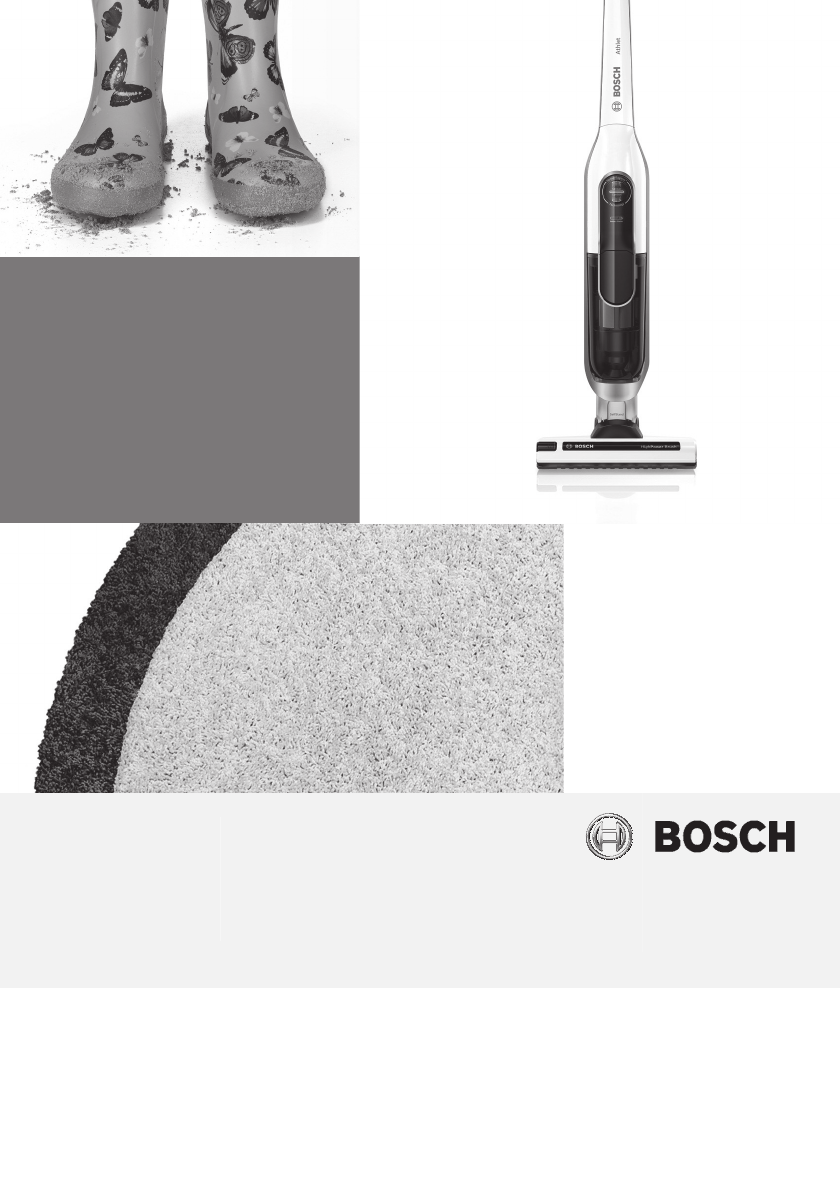
10Your vacuum cleaner1112141516131767812345910
11Floor tool with electricbrushDust containerDirt container releasebuttonBattery charging statusindicatorSensor Control indicatorDust containerOuter fi
12Before using for the first time1Plugging the handle onto themain housingFigure ● Carefully plug the handle ontothe main housing and lock intoplace.
13ChargingCaution! Before using the vacuum clea-ner for the first time, the batte-ries must be charged for at least6 hours.Charging the batteryFigure ●
14ChargingBattery charging status indicatorFigure The indicator shows the chargingstatus of the battery.Battery fully chargedBattery semi-chargedBatte
15Vacuuming6Controlling the suction levelFigure ● To change the suction power, slidethe on/off switch to the desiredposition:Power level 1 1Vacuuming
816VacuumingVacuuming with accessoriesFigure ●Fasten the carrying strap to theadapted short handle.●Remove the long handle from themain housing.8Trans
17Vacuuming8Figure ● Plug the short handle onto themain housing and lock into place●Press the release button and pulldown the floor tool.●Plug the acce
18VacuumingFigure Fit nozzles as required to the flexiblehose with the accessory adapterhandle: ● Upholstery nozzle for vacuumingupholstered furniture
19When the work is doneSwitching off the applianceFigure ●Switch off the appliance aftervacuuming.1111ParkingFigure During short pauses in vacuuming,t
2
20When the work is doneEmptying the dust containerFigure In order to achieve the bestpossible vacuuming results, thedust container should be emptiedaf
21When the work is doneRemoving the dust containerFigure ●Using the release button, unlockthe dust container and remove itfrom the appliance.1313
22When the work is doneTaking out the filter unitFigure ● Take the filter unit out of thedust container.● Empty the dust container.1414
23When the work is doneInserting the dust containerFigure ● Remove any dirt which may havebeen lodged underneath thecontainer ejector opening.● Insert
24DisassemblyReleasing the handleFigure ● To release the handle, press therelease button and carefully liftthe handle upwards to remove it.1612Releasi
25Filter careYour appliance is equipped with a"Sensor Control" function.This function constantly monitorswhether your vacuum cleaner isworki
26Filter care19Cleaning the outer filter unitFigure The outer filter unit should becleaned at regular intervals in orderto ensure optimum operation oft
27Filter careCleaning the filter cartridge orchanging the filterFigure ● Switch off the appliance.● Remove the dust container fromthe appliance. Figu
28Filter careFigure d) After fitting the foam filter, ins-ert the filter cartridge into thedust container.e) Insert the filter cartridge intothe filte
291Cleaning the floor toolCleaning the floor toolBefore carrying out any mainte-nance, switch off the vacuumcleaner and disconnect it from thecharging
3Table of contentIntended use . . . . . . . . . . . . . . . . . . . . . . . . . . . . . . . . 5Safety information . . . . . . . . . . . . . . . . . .
30CareBefore cleaning the hand vacuum cleaner, it must be switchedoff and disconnected from the charging cable. The vacuumcleaner and plastic accessor
31Malfunctions and Costumer ServiceIn the following cases, you must stop the applianceimmediately and contact the after-sales service:If you have acci
32GB Great BritainBSH Home Appliances Ltd.Grand Union HouseOld Wolverton RoadWolvertonMilton Keynes MK12 5PTTo arrange an engineer visit, to order spa
33DisposalInformation on disposalPackagingThe packaging is designed to protect the vacuum cleaner frombeing damaged during transportation. It is made
34Conditions of guarantee For this appliance the guarantee conditions as set out by ourrepresentatives in the country of sale apply. Details regarding
hom-hcsob.wwwyanmerGhcinu M10178-D1 03 0x 8o. BO.Ppe Amoh HcsoBcom.ehomh11 0p uore Gcnailpp36083090098001035297
4Filter care. . . . . . . . . . . . . . . . . . . . . . . . . . . . . . . . . . 25Sensor Control . . . . . . . . . . . . . . . . . . . . . . . . . . .
5Safety informationPlease keep this instruction manual for future reference.When passing the vacuum cleaner on to a third party,please also pass on th
6Safety informationSafety informationThis vacuum cleaner complies with the recognised rulesof technology and the relevant safety regulations.The appli
7Safety informationProper useThe charging cable must only be connected and opera-ted as specified on the rating plate.The appliance must only be stored
8In the following cases, you must stop the applianceimmediately and contact the after-sales service:If you have accidentally vacuumed up some liquid o
9Safety information! BatteriesYour appliance is fitted with lithium-ion batteries which,for safety reasons, are only accessible to professionalrepair s
Related products and manuals for Vacuum cleaners Bosch BCH75STKGB
 (58 pages)

 (157 pages)
 (142 pages)

© 2020, manymanuals.com. All rights reserved. | 1.563 s |
 Manymanuals.com
 Manymanuals.de
 Manymanuals.fr
 Manymanuals.it
 Manymanuals.pl
 Manymanuals.cz
 Manymanuals.es
 Manymanuals-pt.com
Comments to this Manuals