Bosch 2400 EO NG Specifications
Browse online or download Specifications for Water heaters & boilers Bosch 2400 EO NG. Bosch 2400 EO NG Specifications User Manual
- Page / 32
- Table of contents
- TROUBLESHOOTING
- BOOKMARKS
- MODEL 2400 EO - OUTDOOR MODEL 1
- 1 Warning 2
- 2 Appliance details 4
- Appliance details 6
- Fig. 3 Dimensions 6
- Fig. 4 Minimum clearances 6
- Table 1 Minimum clearances 6
- 2.7 Mounting installation 8
- 6 720 608 257 10
- FOR LP GAS 11
- 9 for instructions 12
- 2.10 Water connections 13
- 2.11 Electrical connections 14
- 2.12 Operating instructions 14
- 3 Operation instructions 16
- 3.5 Reset button 18
- 3.6 Program button 18
- 3.7 Locked condition 18
- 3.4 Operation 18
- 4 Maintenance and service 19
- 5Troubleshooting 19
- 6 Electrical diagram 22
- 7 2400 EO Functional scheme 23
- 8.1 Interior components 24
- Fig. 34 Components Diagram 25
- 8.3 Parts list 26
- Twelve Year Limited Warranty 31
Summary of Contents
MODEL 2400 EO - OUTDOOR MODELFor exterior use onlyElectronic Ignition and built in Freeze protectionSuitable for heating potable water only Not approv
6 720 608 25710Appliance details2.8 Gas piping & connections Before connecting the gas supply, check the ratingplate on the right side of the heat
6 720 608 257Appliance details11FOR NATURAL GASMaximum Capacity of pipe in Cubic Feet of Gas per Hour for Gas Pressure of 0.5 Psig or less and a Press
6 720 608 25712Appliance details2.9 Measuring gas pressure2.9.1 Connecting ManometerB Shut off gas.B Remove front cover and locate inlet gas pressurem
6 720 608 257Appliance details132.10 Water connections When facing the heater, the ¾” cold water inlet is on the bottom right and the hot water outlet
6 720 608 25714Appliance details2.11 Electrical connectionsThe 2400 EO requires an electrical power supply froma 120VAC 60Hz circuit and must be prope
6 720 608 257Appliance details152.13 For your safety read beforeoperating your water heaterA. This appliance is equipped with electronic ignition forl
6 720 608 25716Operation instructions3 Operation instructionsFig. 191 On/Off switch2 Reset button3 Program button4 Increasing temperature button5 Decr
6 720 608 257Operation instructions17Setting the water temperatureThe desired temperature of the hot water can be adjusted on the front control panel
6 720 608 25718Operation instructions3.3 Use of remote control accessoryFig. 23 Remote controlThe wireless remote control accessory and thetemperature
6 720 608 257Maintenance and service194 Maintenance and serviceThe unit should be checked once a year by a gastechnician. If repairs are needed, the r
6 720 608 2572IndexIndex1 Warning 22 Appliance details 42.1 Features 42.2 2400 EO Specifications (Technical data) 42.3 Dimensions and Minimum instal
6 720 608 25720TroubleshootingTest by following 4th bullet under BURNERS DONOT IGNITE WHEN HOT WATER IS TURNED ON.LOW WATER FLOW/PRESSURE• Too many ho
6 720 608 257Troubleshooting21Display Cause SolutionE9 Temperature limiter opened circuit (overheat). Trips at 220F (104C).Check connections. *Check h
6 720 608 25722Electrical diagram6 Electrical diagramFig. 29 Electrical scheme1 Intlet water temperature sensor2 Ionization sensor3 Water flow sensor4
6 720 608 2572400 EO Functional scheme237 2400 EO Functional schemeFig. 31 Functional scheme
6 720 608 25724Interior components diagram and parts list8 Interior components diagram and parts list8.1 Interior componentsFig. 32 Components1 Cover2
6 720 608 257Interior components diagram and parts list258.2 Components diagramFig. 34 Components Diagram4376720607440-08.4 JF134555267889101012137141
6 720 608 25726Interior components diagram and parts list8.3 Parts listItem Description Reference1 Front cover 8 705 421 9152 Shield 8 705 506 7533 He
6 720 608 257Special adjustment for measuring and adjusting CO2 levels279 Special adjustment for measuring and adjusting CO2 levelsThe CO2 can only be
6 720 608 25728Special adjustment for measuring and adjusting CO2 levelsD. Returning to Service:1. Return slotted cover to original position.2. Reinst
6 720 608 257Protecting the environment2910 Protecting the environment PackingThe packing box may be fully recycled as confirmed bythe recycling symbo
6 720 608 257Warning3What to do if you smell gas• Close gas valve.• Do not try to light any appliance.• Do not touch any electrical switch; do not use
6 720 608 25730Twelve Year Limited Warranty11 Twelve Year Limited WarrantyGeneralAquastar water heaters are warranted by theManufacturer (BOSCH) throu
6 720 608 257Twelve Year Limited Warranty31
Recycled paper © 2006 BBT NORTH AMERICA, Waitsfield, VT all rights reservedReplacement Parts available from:VULCANO Termodomésticos S.A.Estrada de Cac
6 720 608 2574Appliance details2 Appliance details2.1 FeaturesParts• Touch Pad interface control• High power pre-mix compact burner with low NOxemissi
6 720 608 257Appliance details5Combustion•NOx ≤ 55 ppm•CO ≤ 250 ppm.Dimensions• Depth (in): 8 ½” (220 mm)• Width (in): 15 ¾” (400 mm)• Height (in): 26
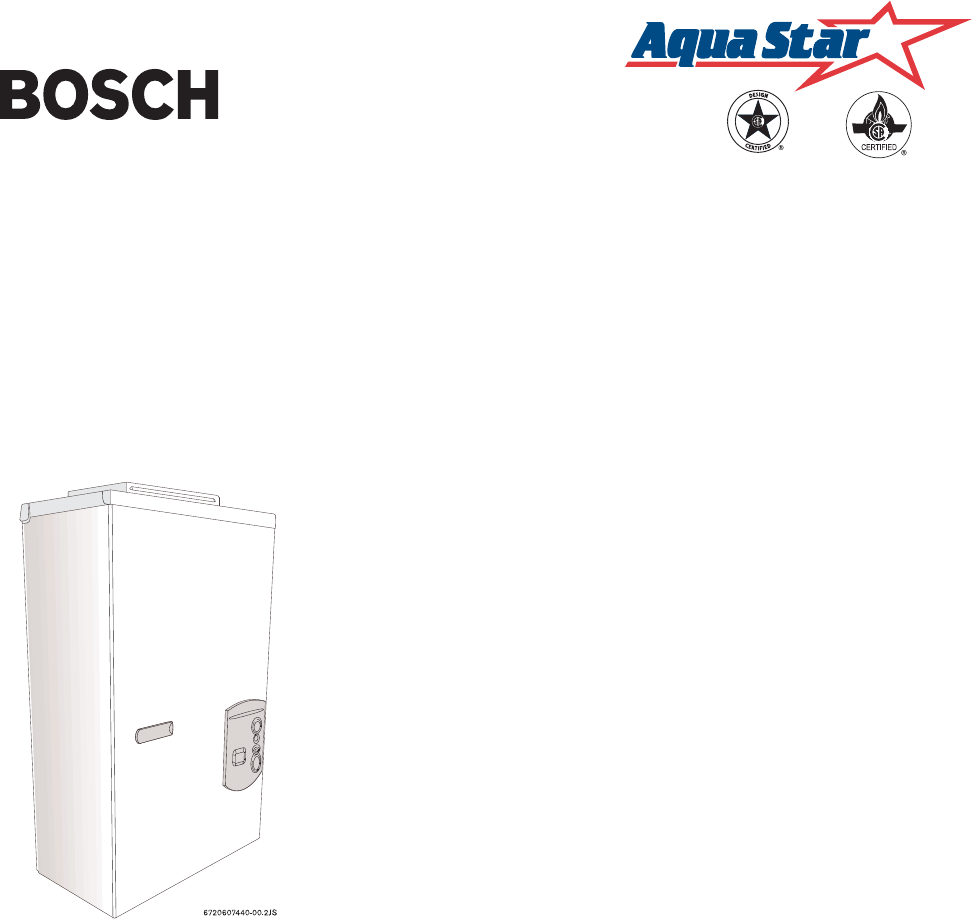
6 720 608 2576Appliance details2.3 Dimensions and Minimum installation clearancesFig. 3 Dimensions1 Cover2 On/Off switch3 Reset button4 LCD display5 P
6 720 608 257Appliance details72.4 General rules to follow for safeoperationB 1. You should follow these instructions when youinstall your heater. In
6 720 608 2578Appliance details2.6 Heater Placement and ClearancesThe 2400 EO is design certified for installation directlyon a combustible wall. (see
6 720 608 257Appliance details9B After inspection, replace front cover and tightenscrews, then replace plastic decal shields.B Fix the top vent cap on
Related products and manuals for Water heaters & boilers Bosch 2400 EO NG

 (12 pages)
© 2020, manymanuals.com. All rights reserved. | 1.030 s |
 Manymanuals.com
 Manymanuals.de
 Manymanuals.fr
 Manymanuals.it
 Manymanuals.pl
 Manymanuals.cz
 Manymanuals.es
 Manymanuals-pt.com
Comments to this Manuals