Bosch WORCESTER GREENSTORE Operations Instructions Page 18
- Page / 24
- Table of contents
- BOOKMARKS
- GREENSTORE TC CYLINDER SERIES 1
- CONTENTS 2
- 1 KEY TO SYMBOLS AND SAFETY 3
- PRECAUTIONS 3
- 2 PRODUCT DETAILS 4
- 2.4 STANDARD DELIVERY 5
- 2.6 DESCRIPTION OF FUNCTION 5
- 6 720 645 752 (2012/05)6 6
- PRODUCT DETAILS 7
- CLEARANCE DIMENSIONS 7
- 2.8 SPECIFICATION 8
- 6 720 645 752 (2012/05) 9 9
- 3INSTALLATION 10
- 3.4 SOLAR CONNECTION DIAGRAM 11
- 6 720 645 752 (2012/05)12 12
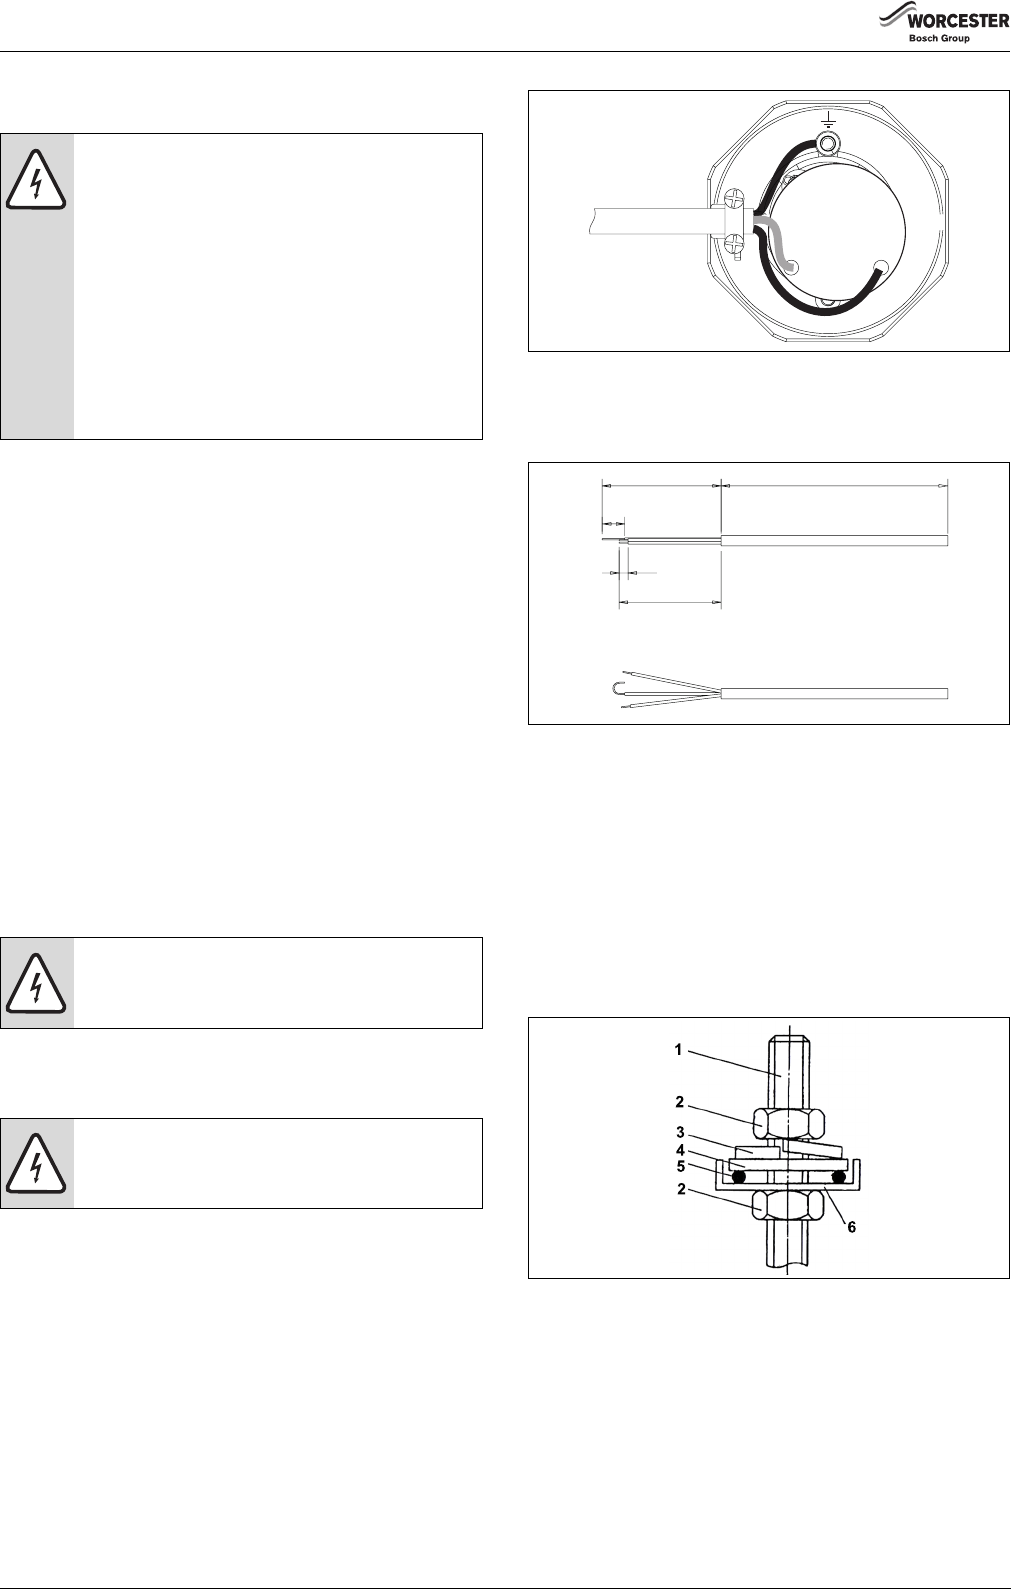
- 3.6 INSTALLATION 13
- 6 720 645 752 (2012/05)14 14
- 1) see Fig. 9 15
- 6 720 645 525-04.1WO 16
- 7 8 9 10 17
- 1 2 3 4 5 6 7 8 9 10 17
- AQU-32-3W 18
- AQU-33-3W 18
- 4 COMMISSIONING 19
- 5SHUTTING DOWN 19
- 7 INSPECTION/MAINTENANCE 20
- 8 SPARE PARTS LIST 20
- 9 THE GUARANTEE 20
- ALL SYSTEMS 21
- UNVENTED SYSTEMS ONLY 21
- THERMAL STORES ONLY 21
- ALL INSTALLATIONS 21
- Service Record 22
- 6 720 645 752 (2012/05) 23 23
- Worcester, Bosch Group 24
- Tel. 0844 892 9900 24
Related products and manuals for Heat pumps Bosch WORCESTER GREENSTORE
 (72 pages)
(49 pages)
(12 pages)
(41 pages)
(96 pages)
(20 pages)
(100 pages)
(72 pages)
(49 pages)
(12 pages)
(41 pages)
(96 pages)
(20 pages)
(100 pages)
 (84 pages)
(150 pages)
(41 pages)
(32 pages)
(24 pages)
(8 pages)
(44 pages)
(84 pages)
(150 pages)
(41 pages)
(32 pages)
(24 pages)
(8 pages)
(44 pages)
© 2020, manymanuals.com. All rights reserved. | 1.369 s |
 Manymanuals.com
 Manymanuals.de
 Manymanuals.fr
 Manymanuals.it
 Manymanuals.pl
 Manymanuals.cz
 Manymanuals.es
 Manymanuals-pt.com
Comments to this Manuals